
As mentioned on an earlier page (Learning CAD helps with next phase), I started using Rhino 3D CAD software in the early 2000’s. Before that I had some experience with the original Autocad 2-D drawing program, which we had started using at work for industrial control systems electrical diagrams and control panel layouts. The Rhino CAD software interface was quite similar to Autocad, which made learning it much easier. Before long, I was recreating my Valkyrie chassis (which is mostly comprised of various sizes of intersecting rectangular tubes) in 3D CAD. The harder part was learning surface modeling, and how to make smooth, flowing body parts like what is needed for the Valkyrie. Over time, I got better at CAD, creating the entire Valkyrie body in 3D, and eventually modeling the house we wanted built in Nevada.
Around 2018 my son gave me a 3D printer for Christmas. He knew I was toying with thought of checking out 3D printing and he was looking for something he could get me that I wasn’t ready to spend the money on myself.
What made 3D printing such a natural next-step for advancing my car hobby was the fact that I had been using 3D CAD software for 15 years by the time I got my first 3D printer. In order to make anything with a 3D printer, you first need a good quality 3D model. The first year with my new 3D printer I mostly spent refining my design of an adjustable mobile phone stand. This turned out to be a very good exercise which taught me all the ins and outs of 3D printing and how to design complex, 3D printable objects.
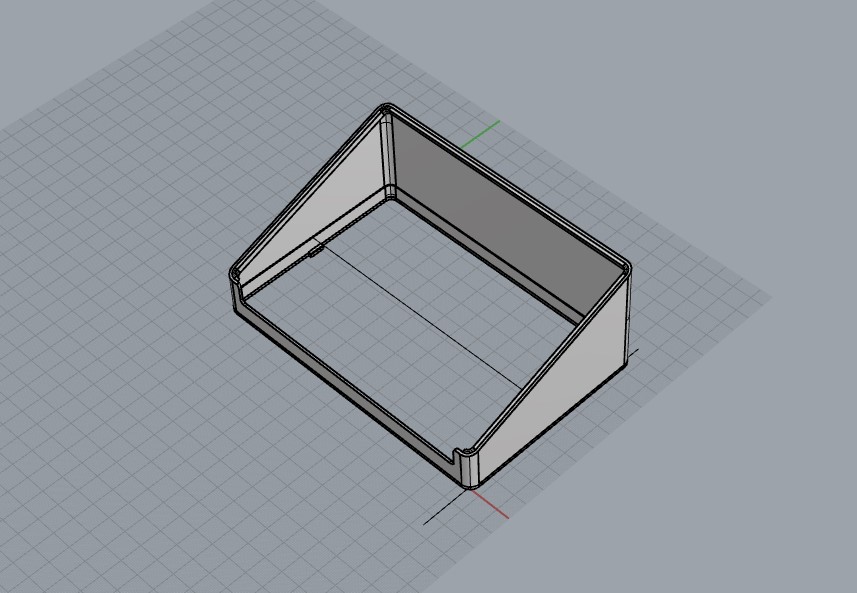
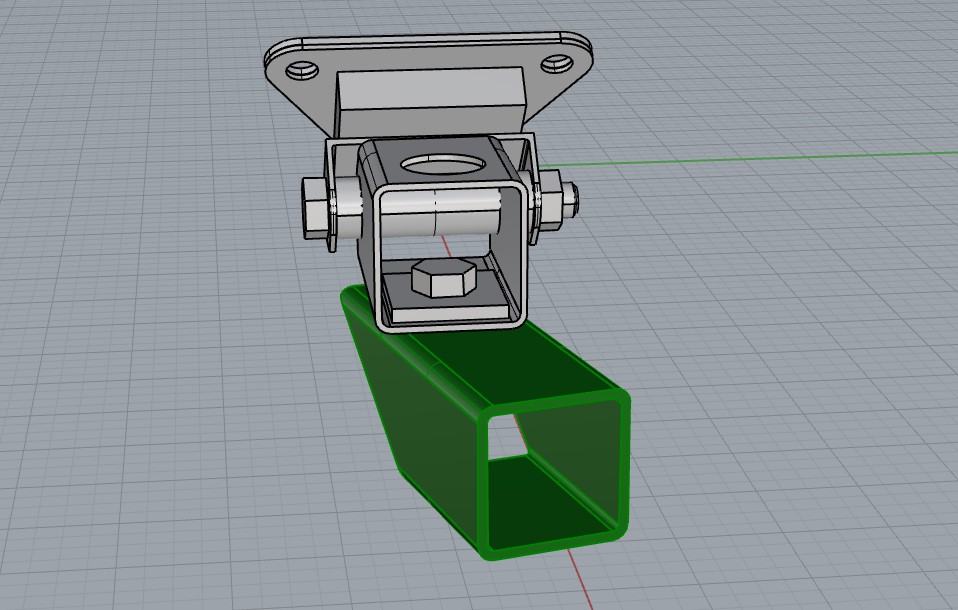
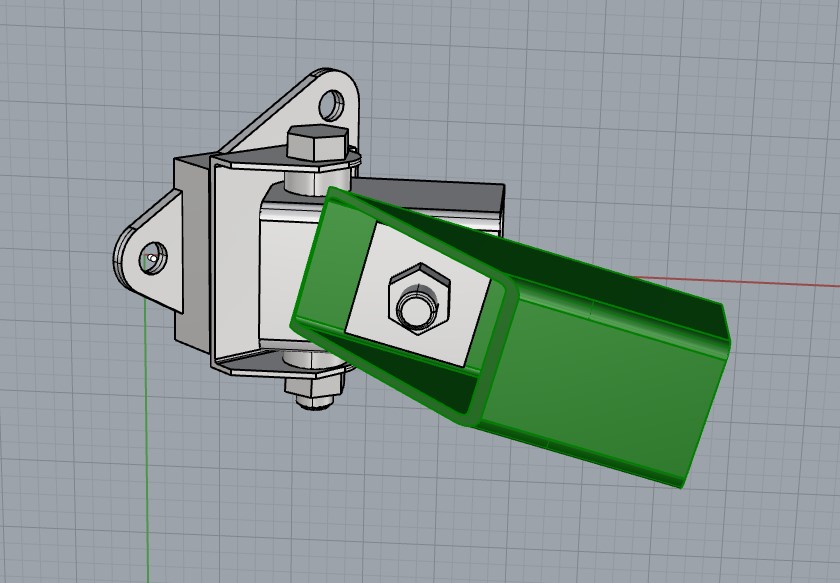
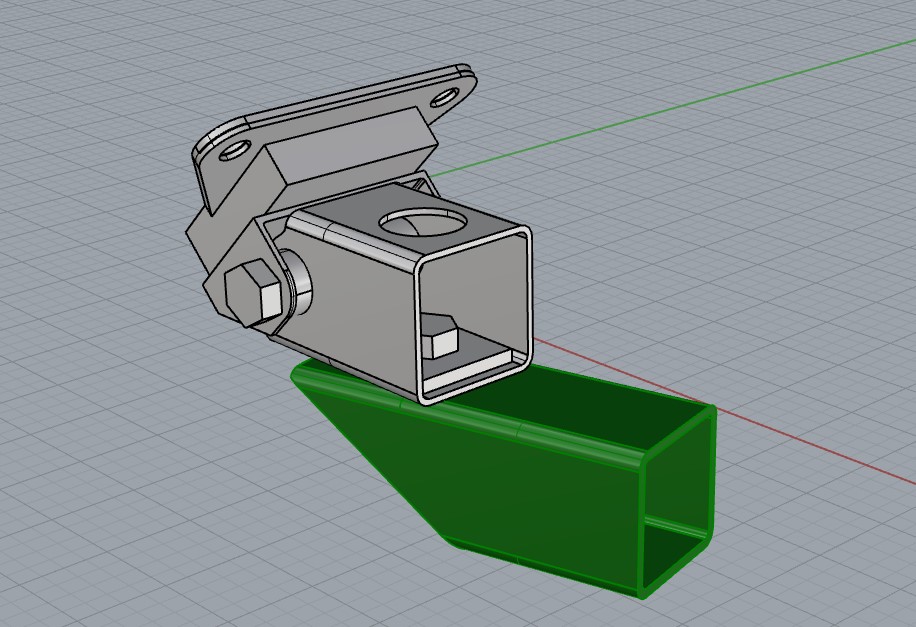
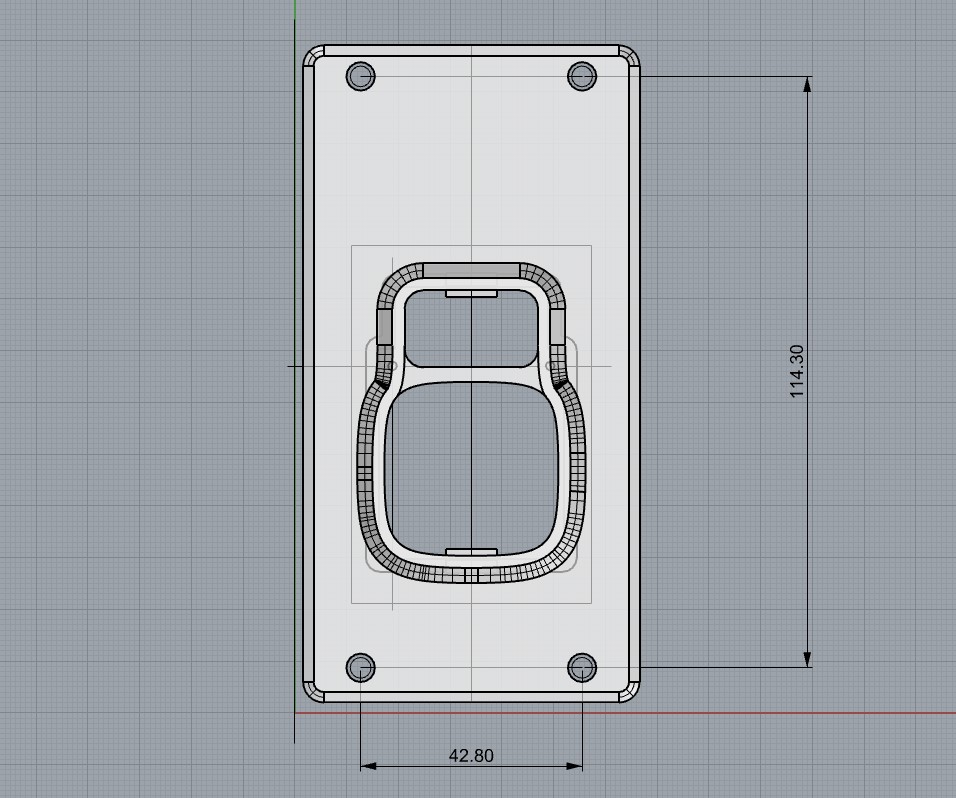
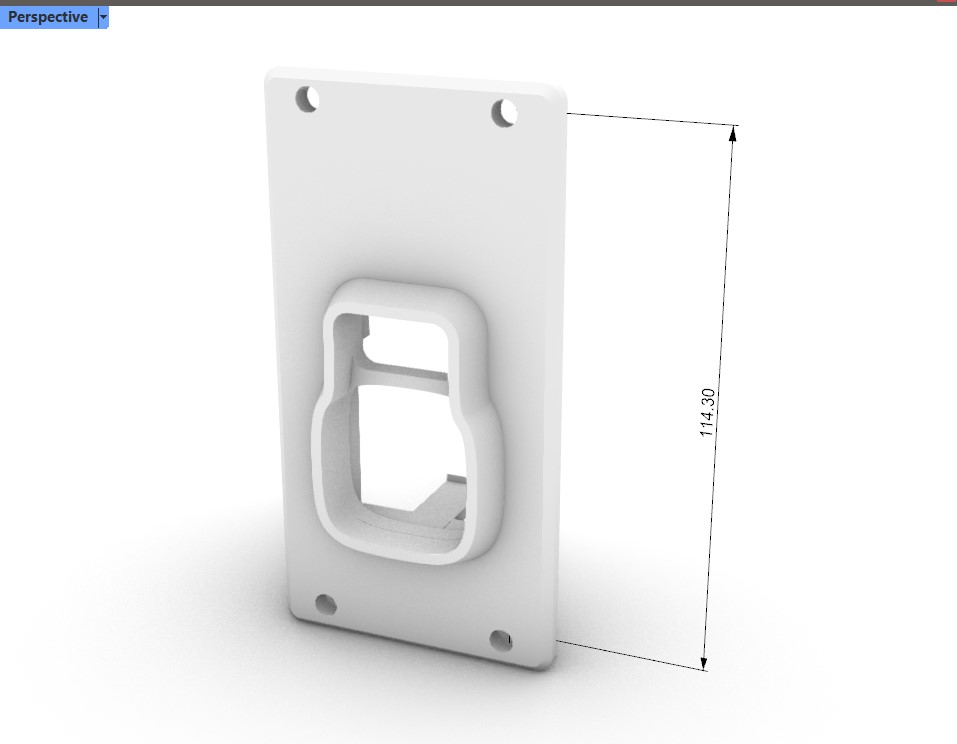
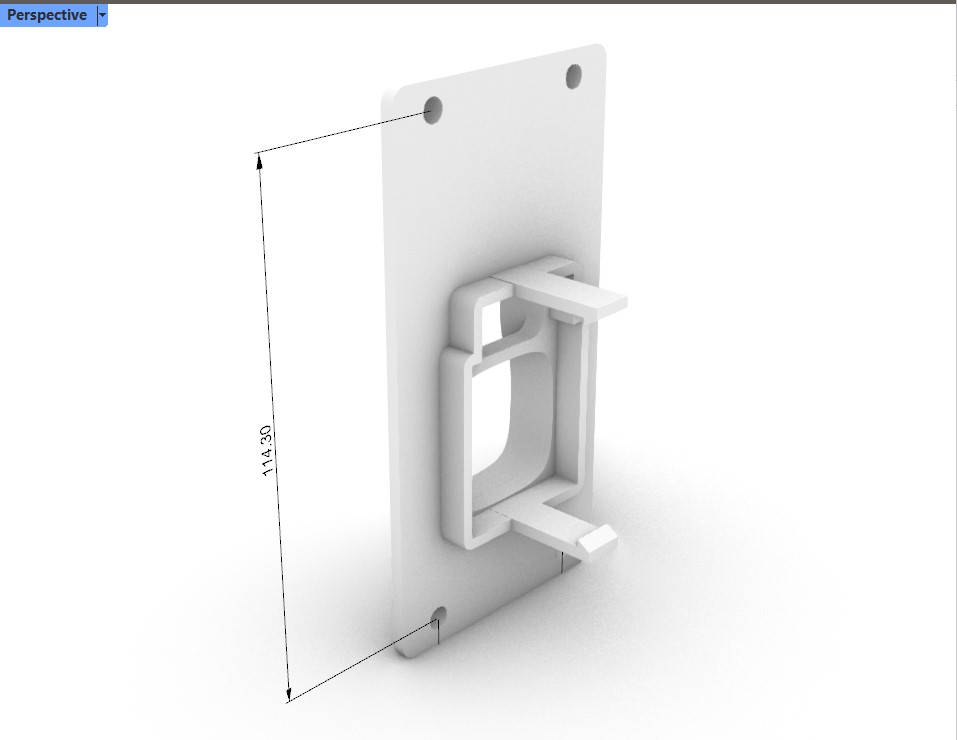
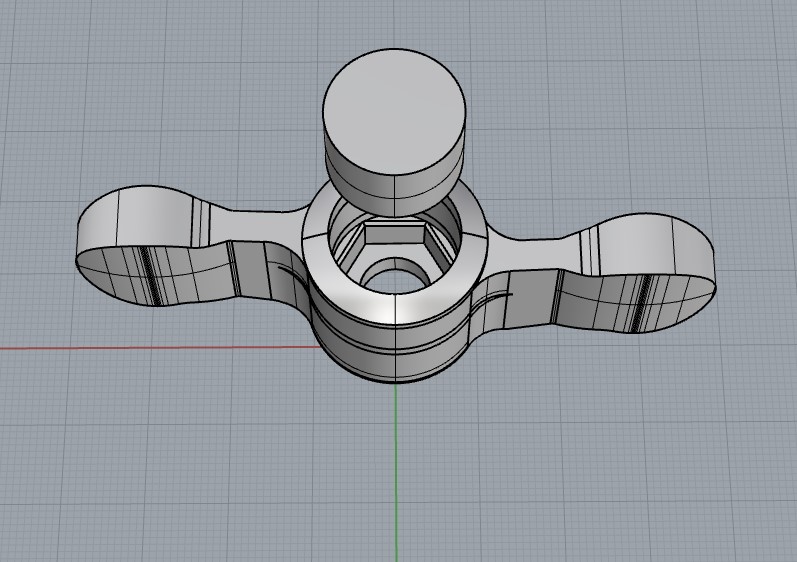
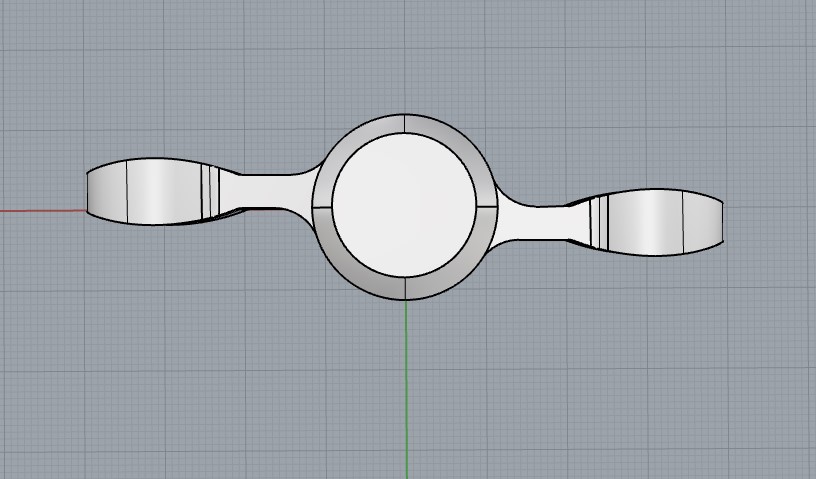
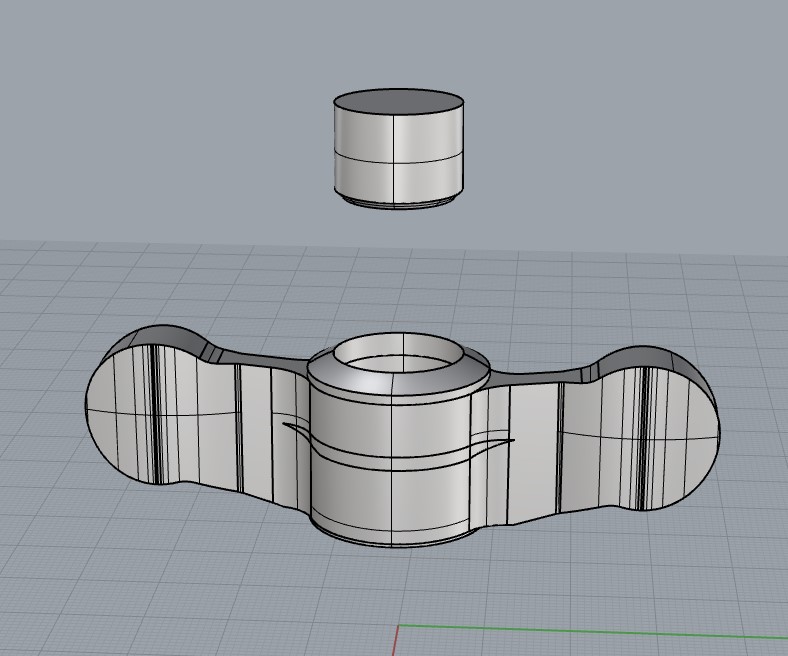
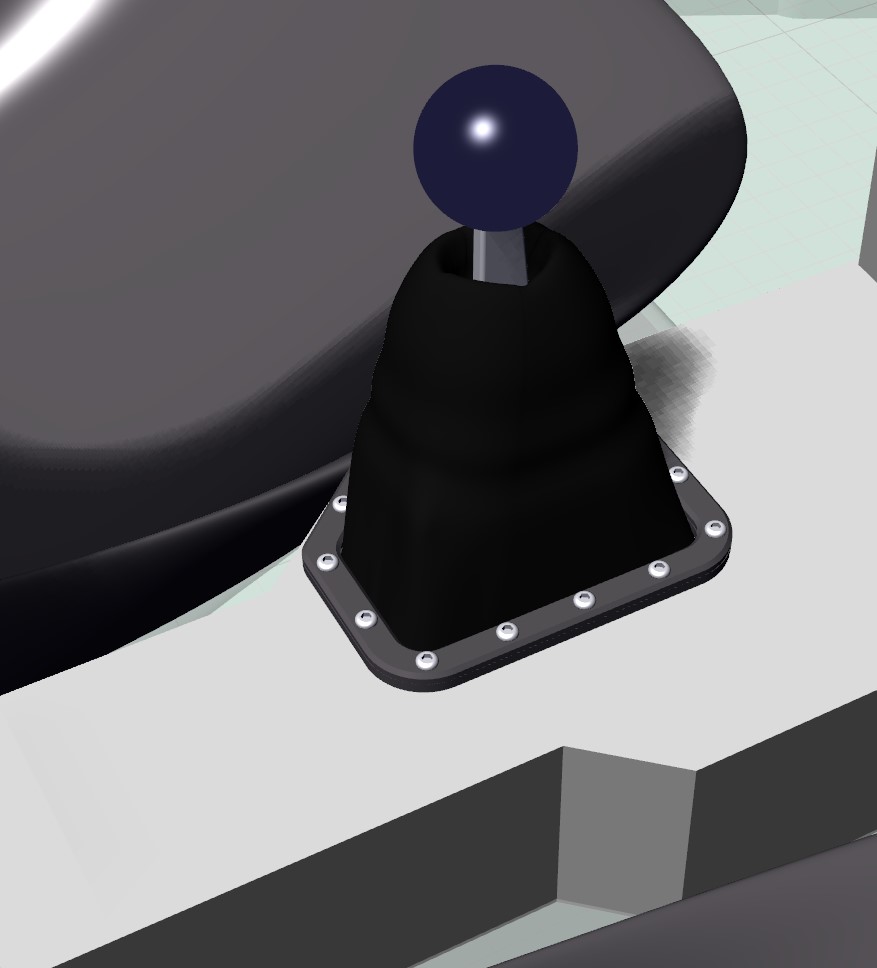
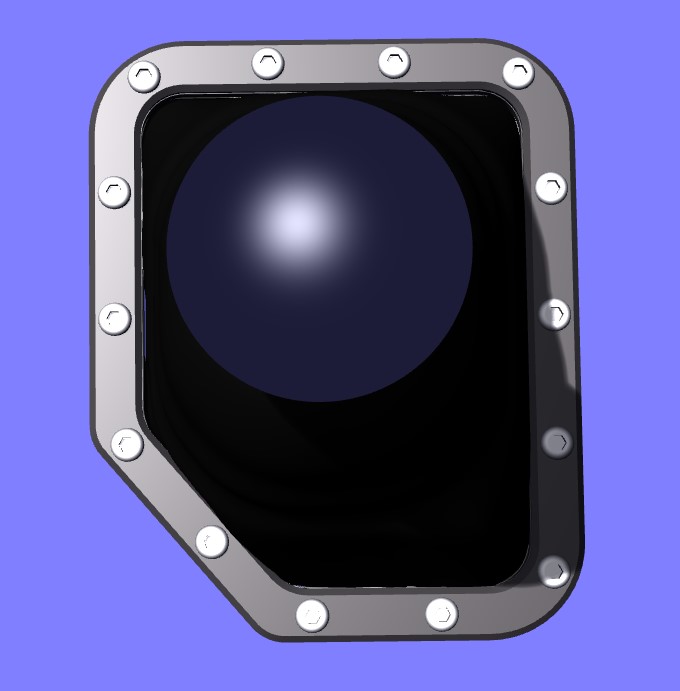
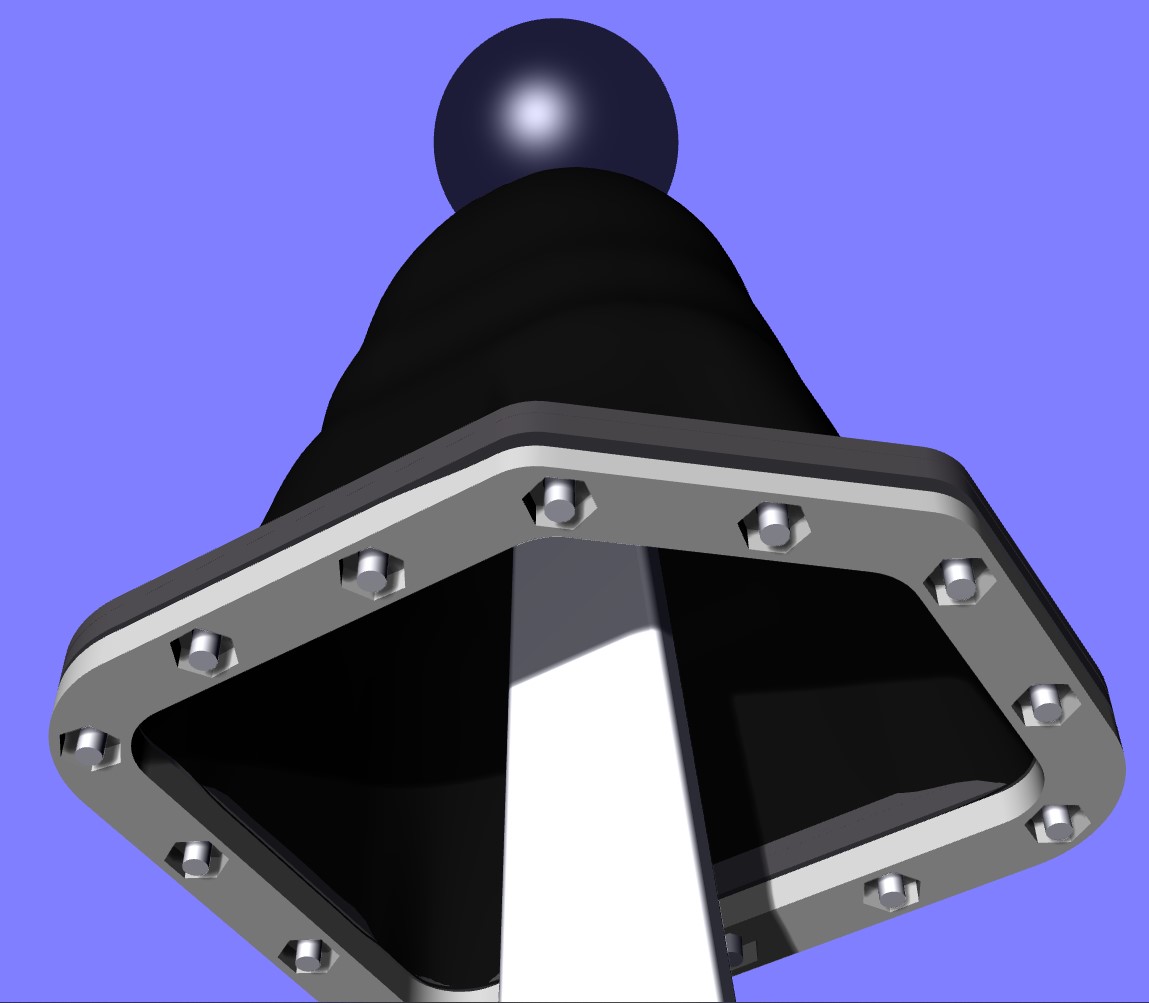
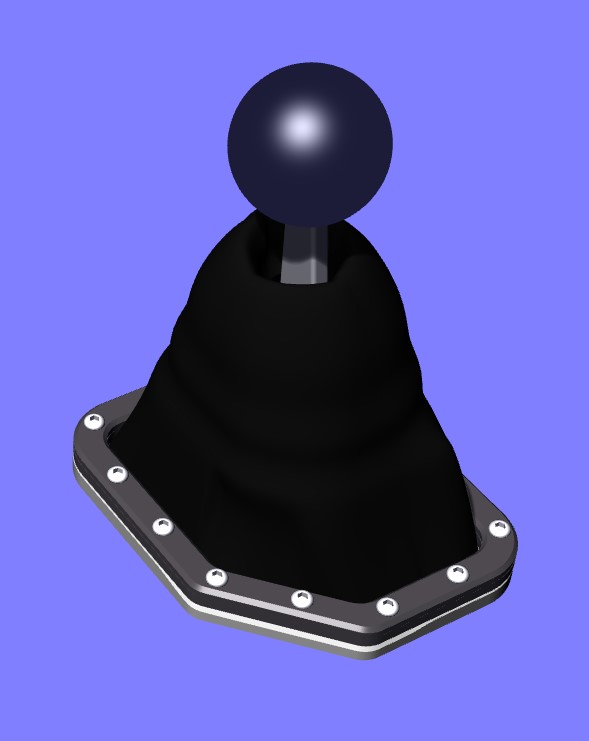
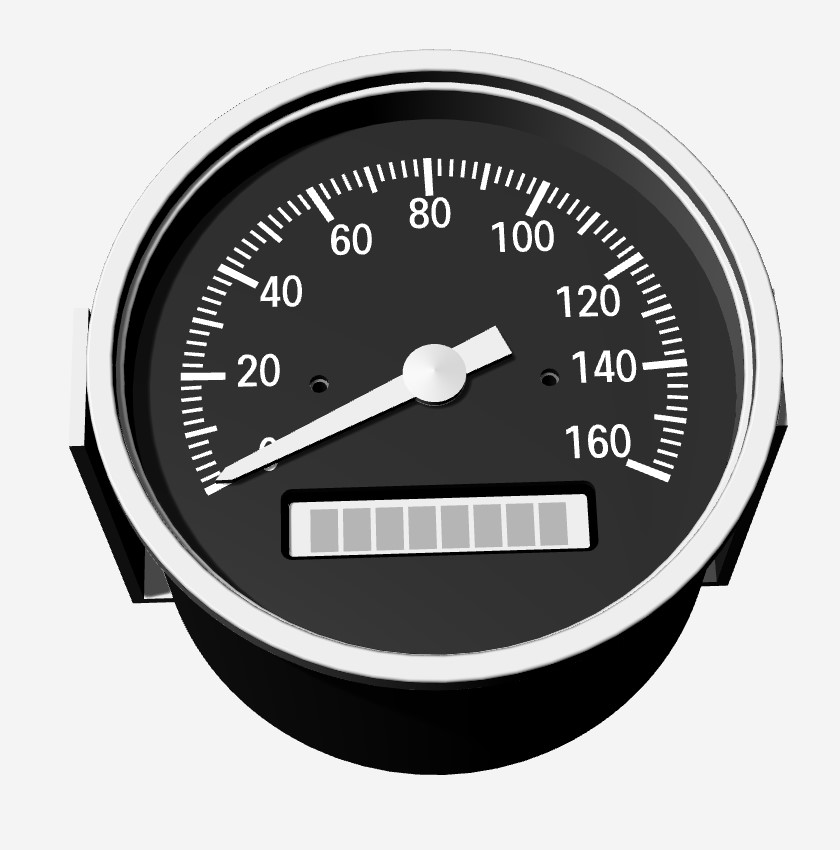
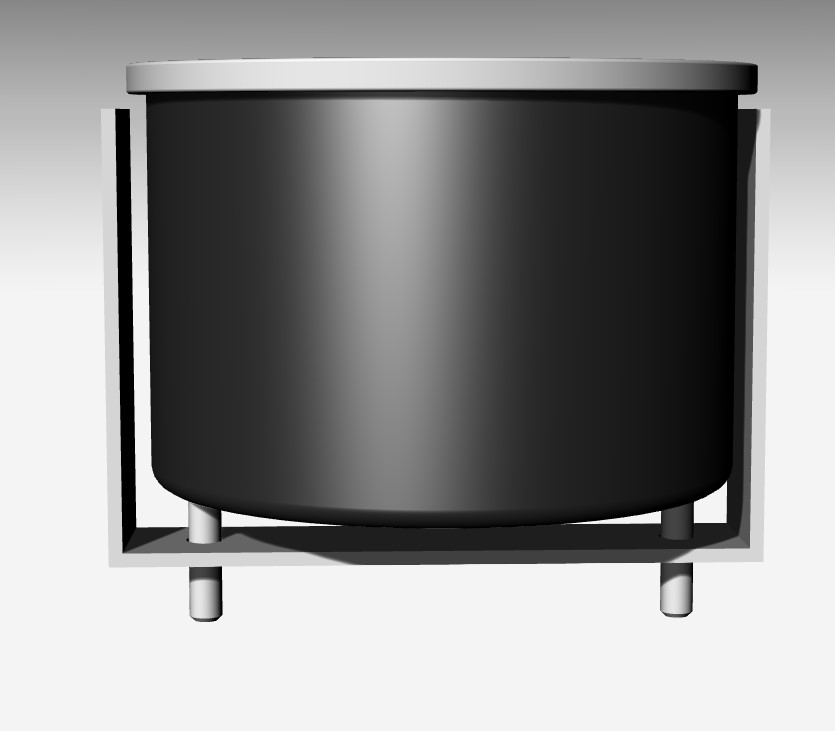
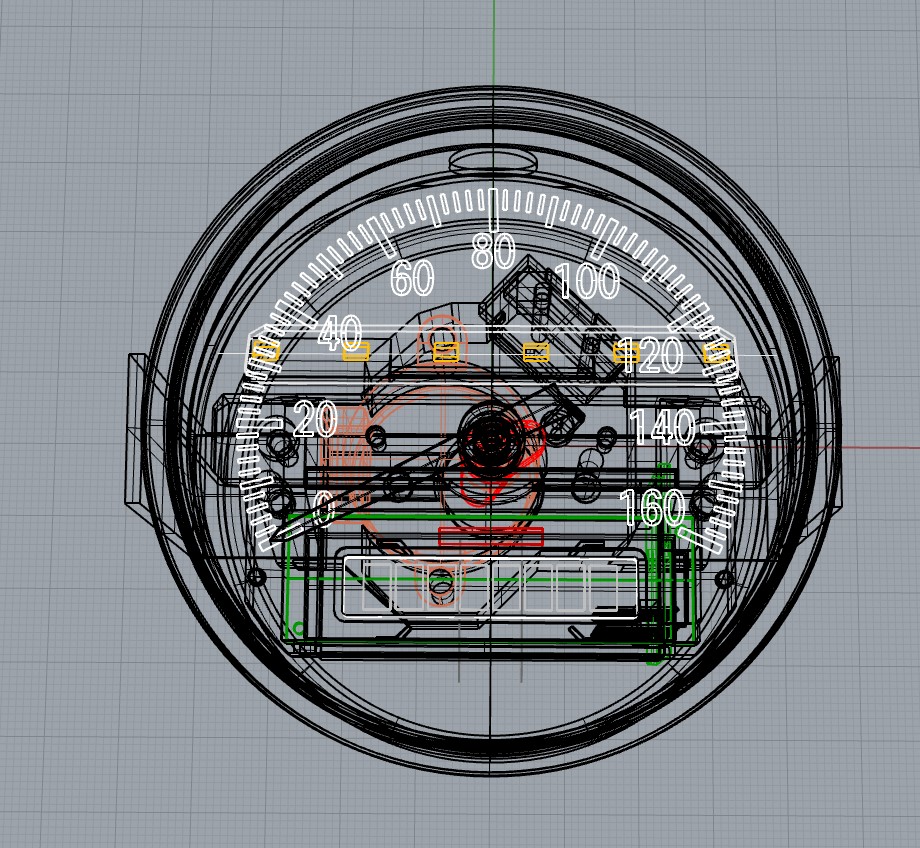
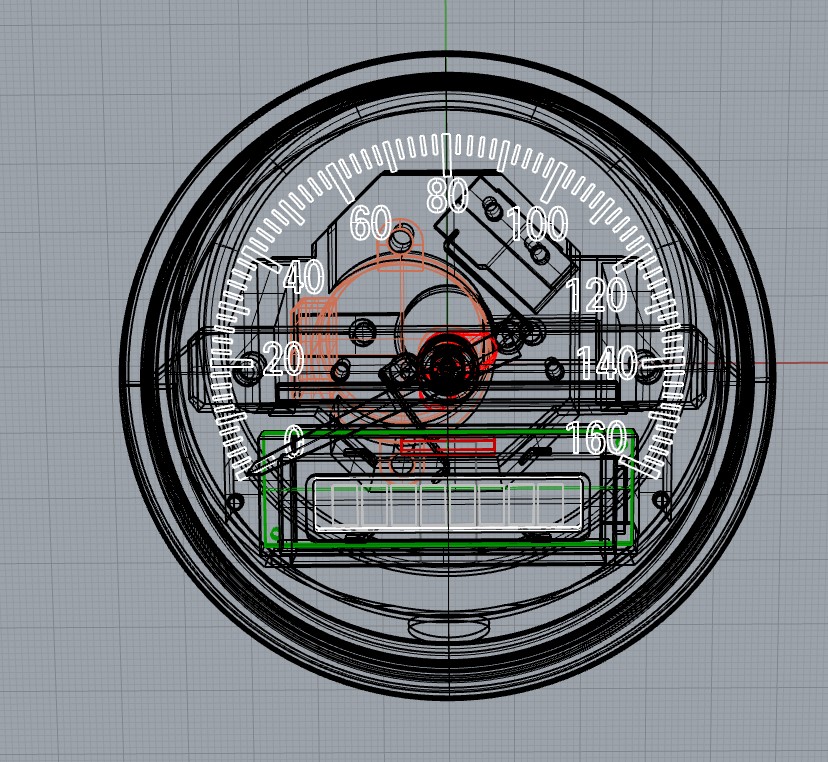
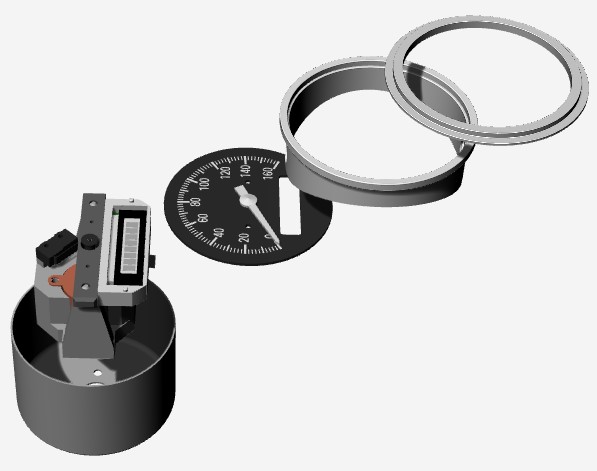
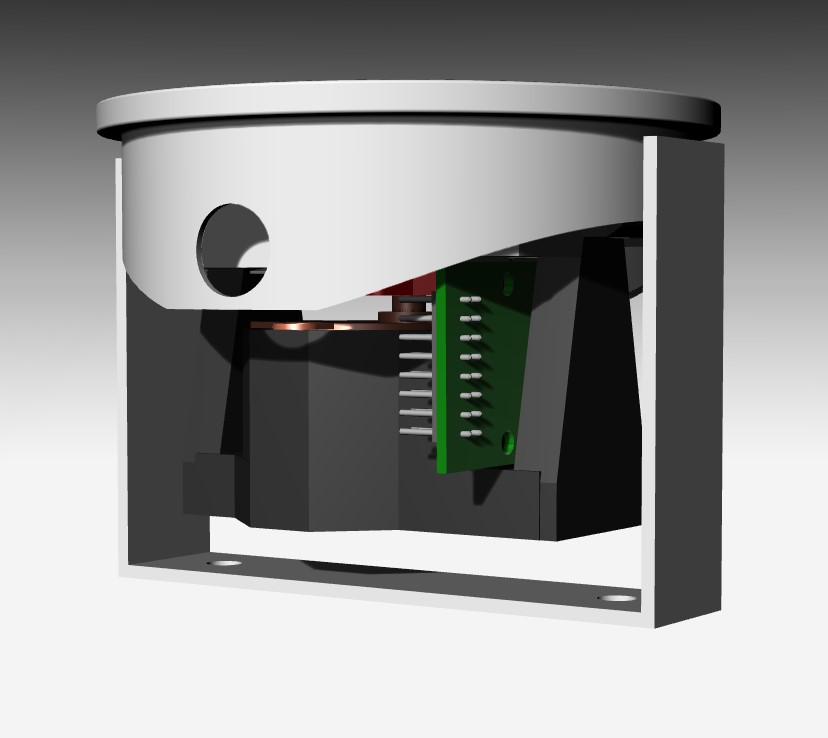
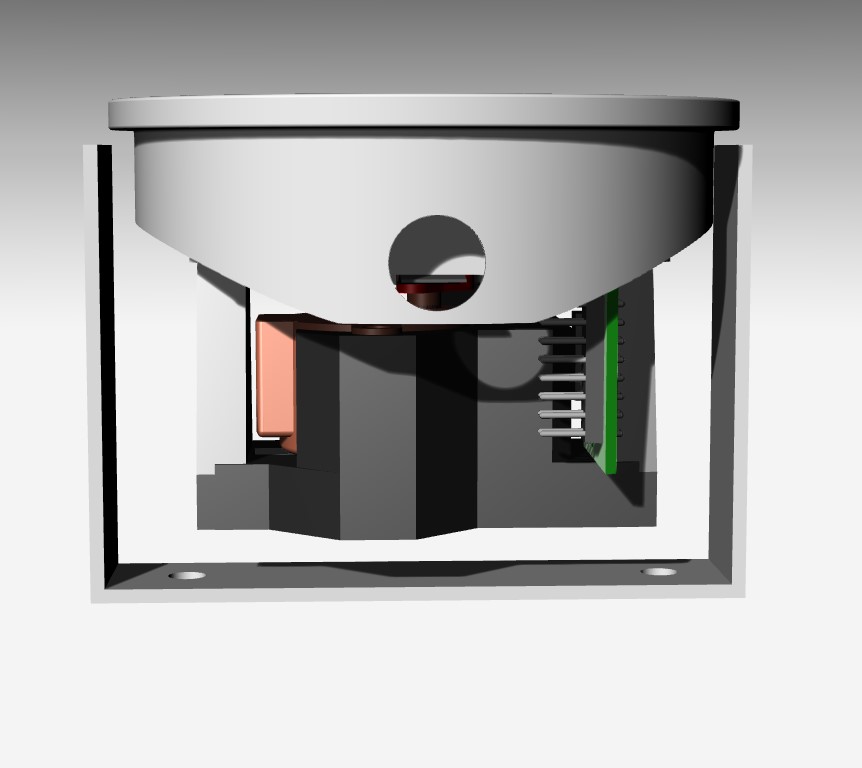
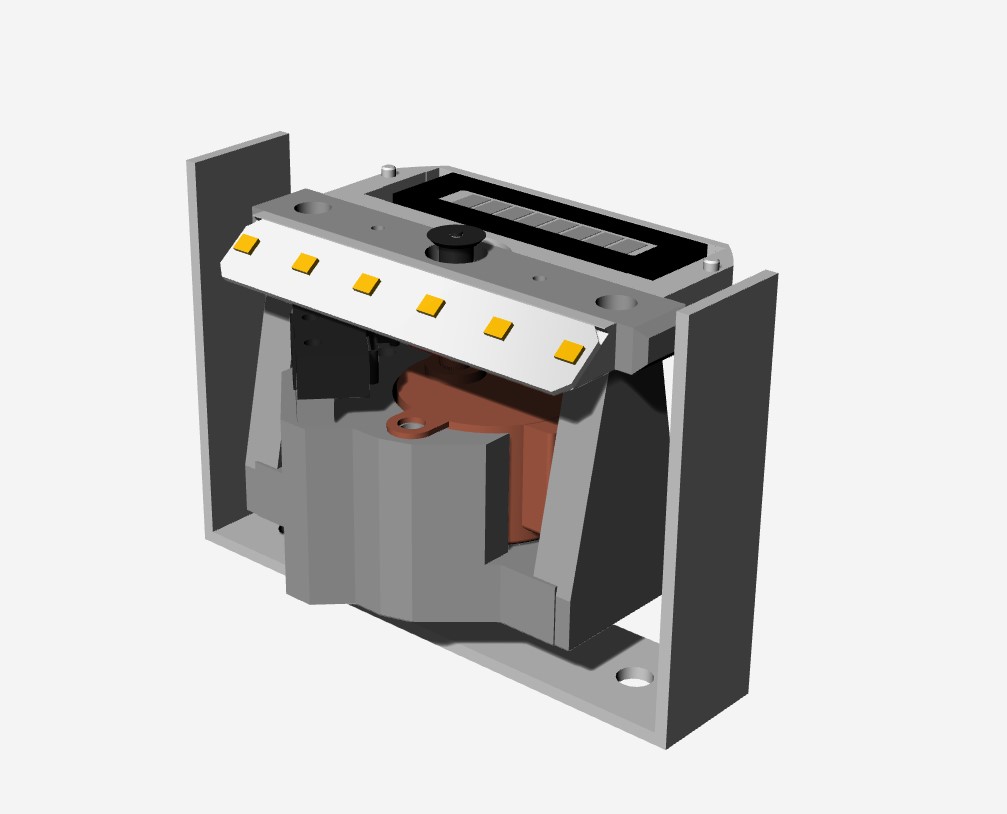
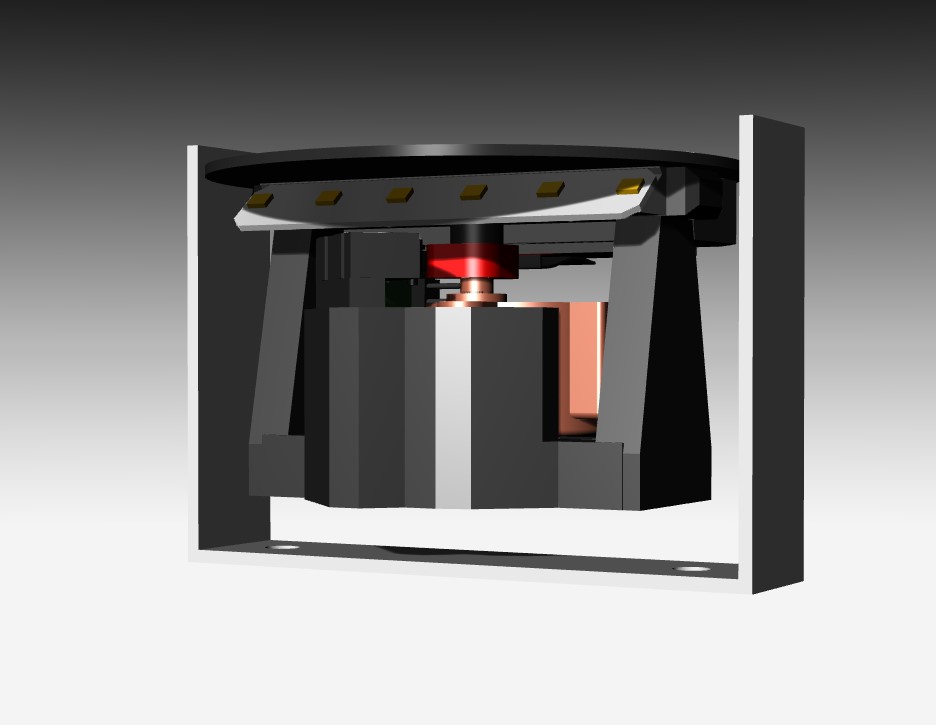
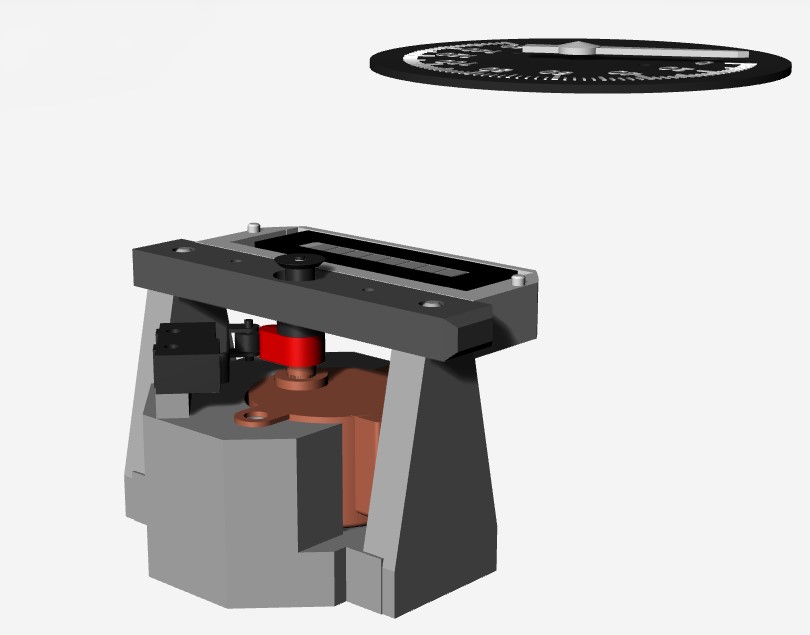
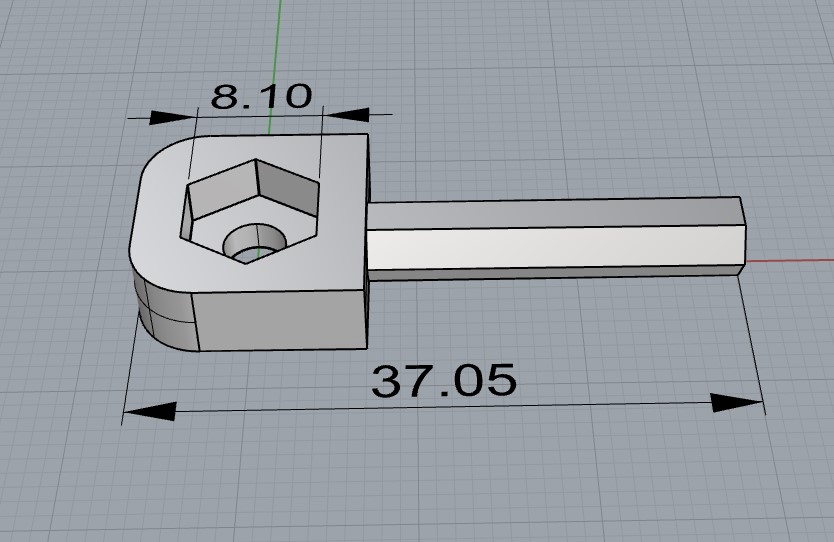
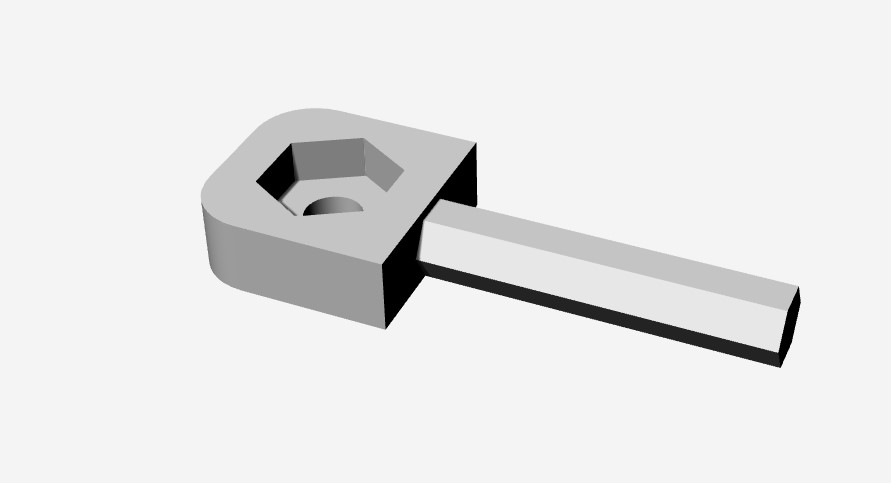
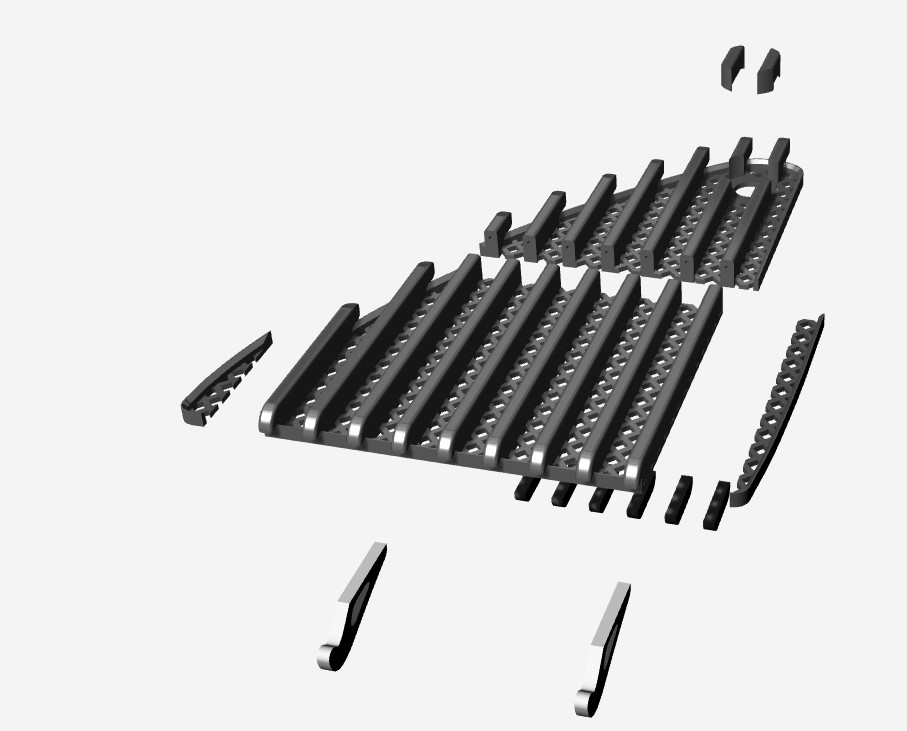
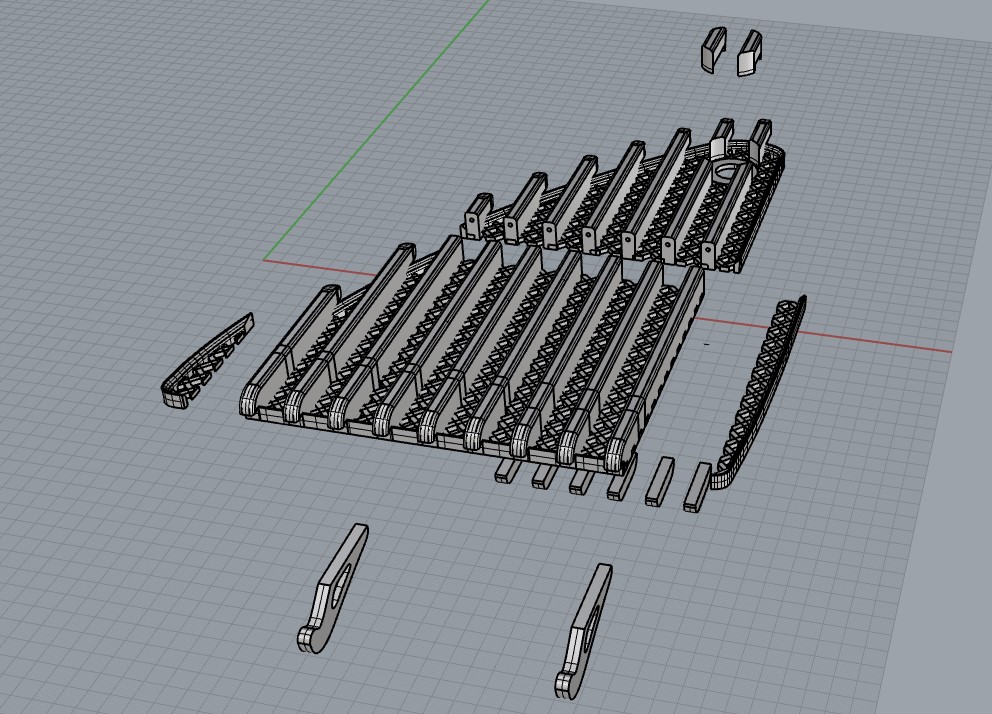
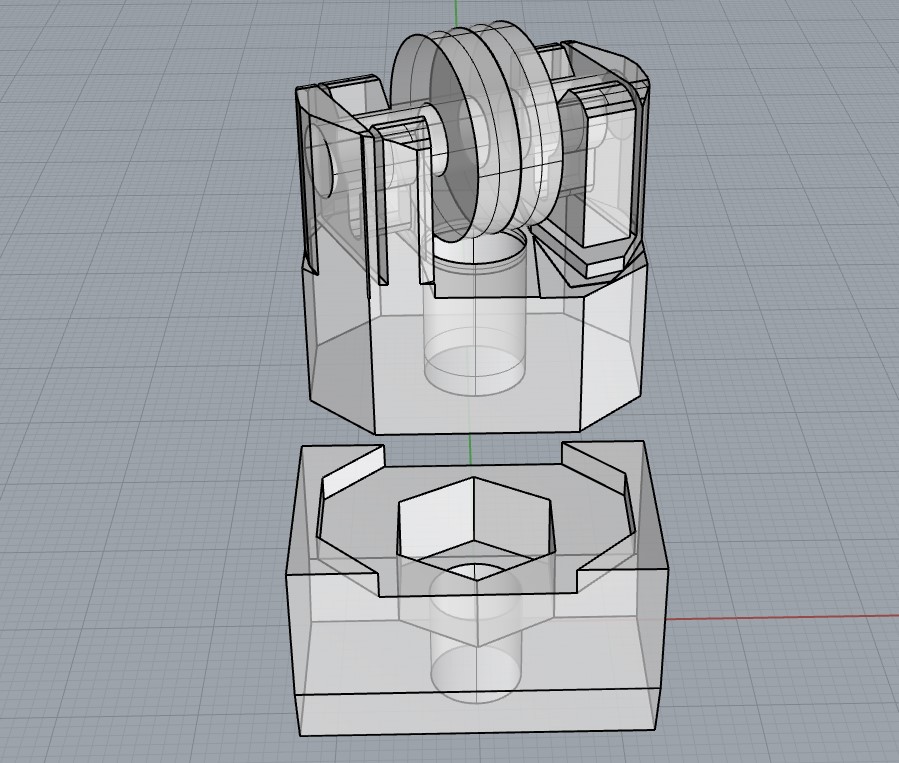
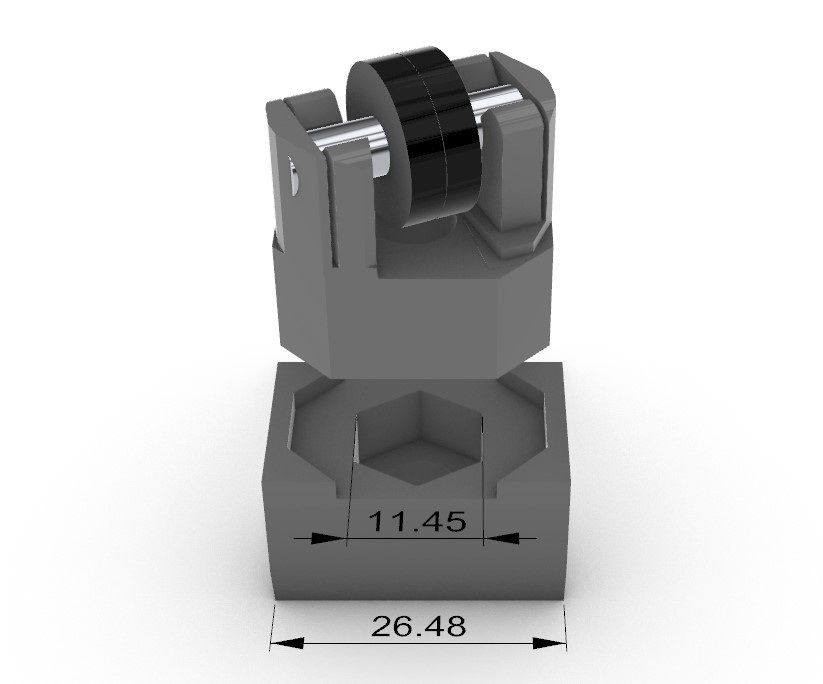
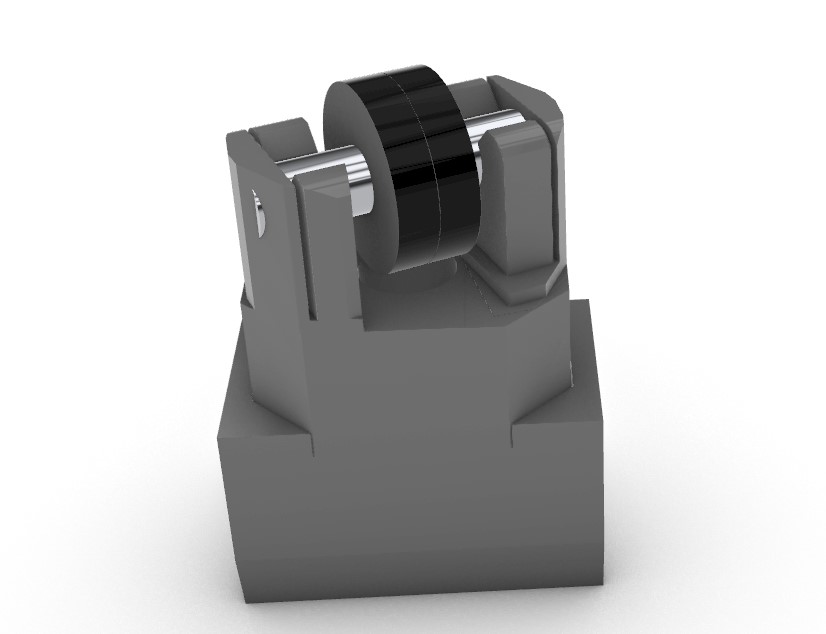
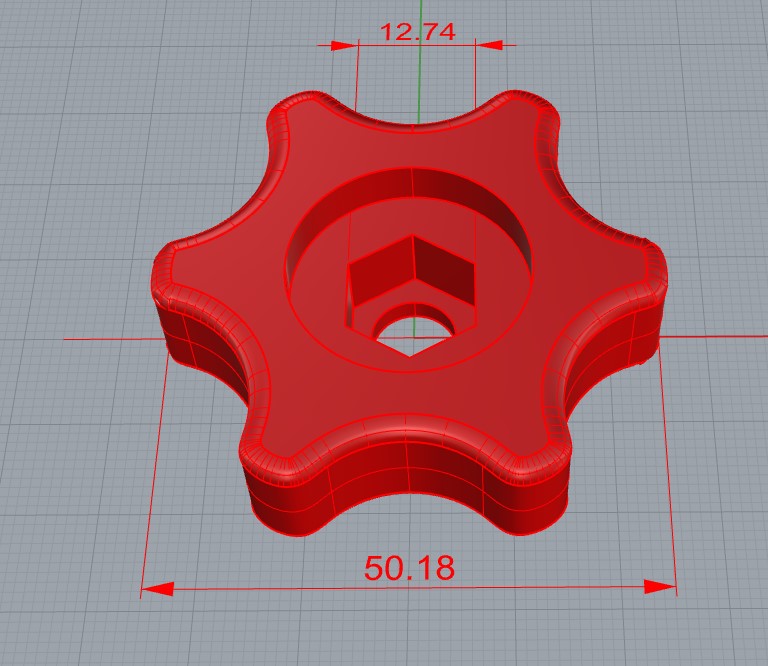
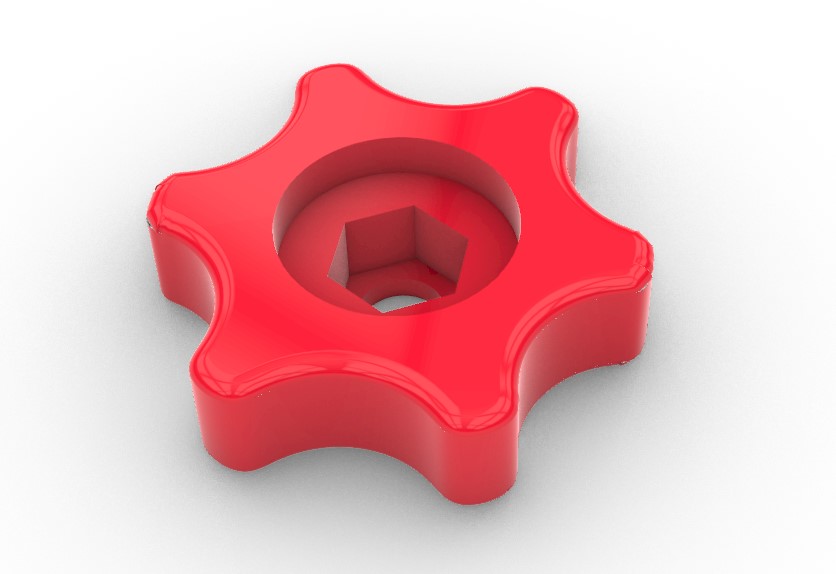
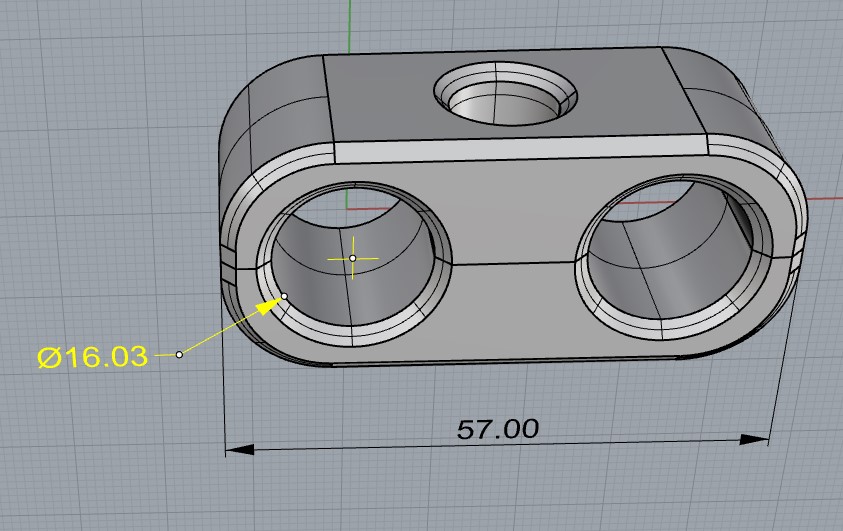
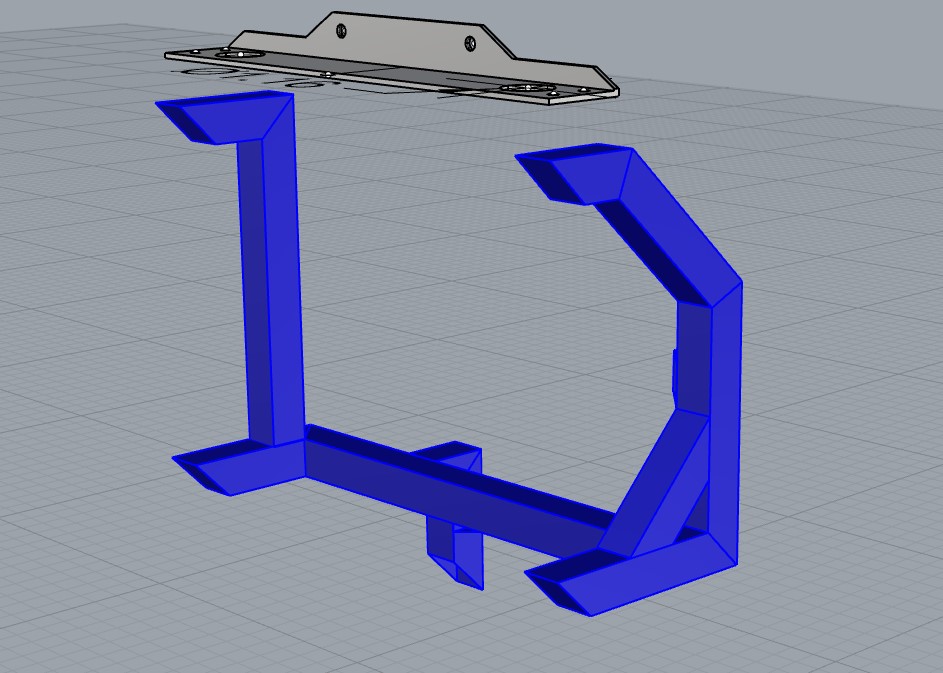
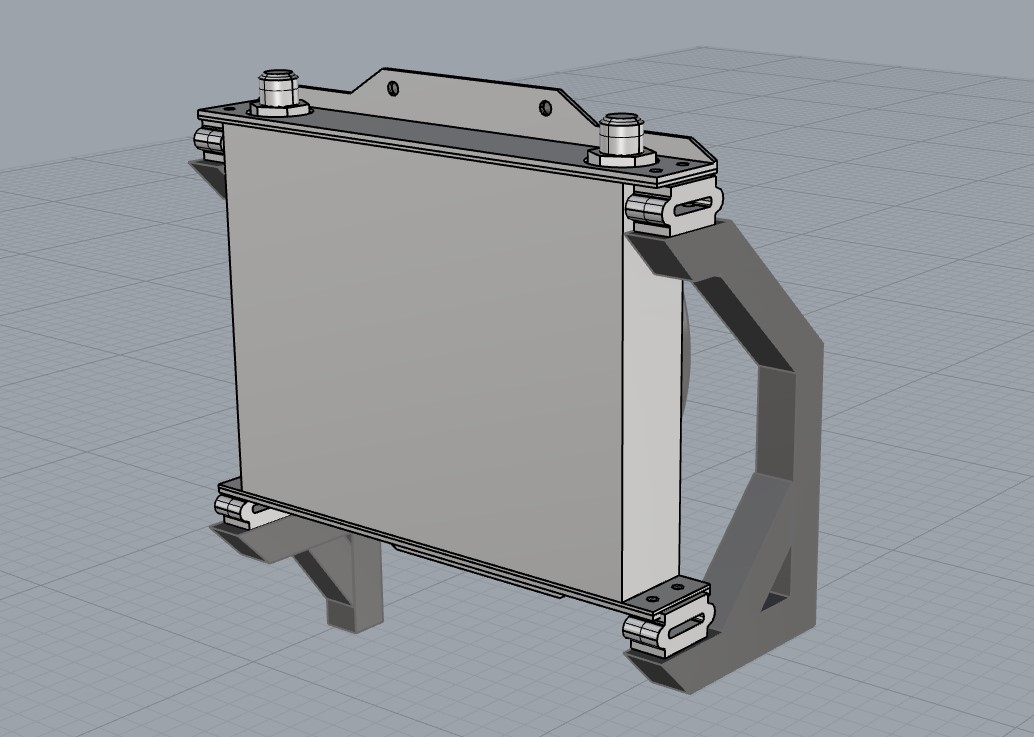
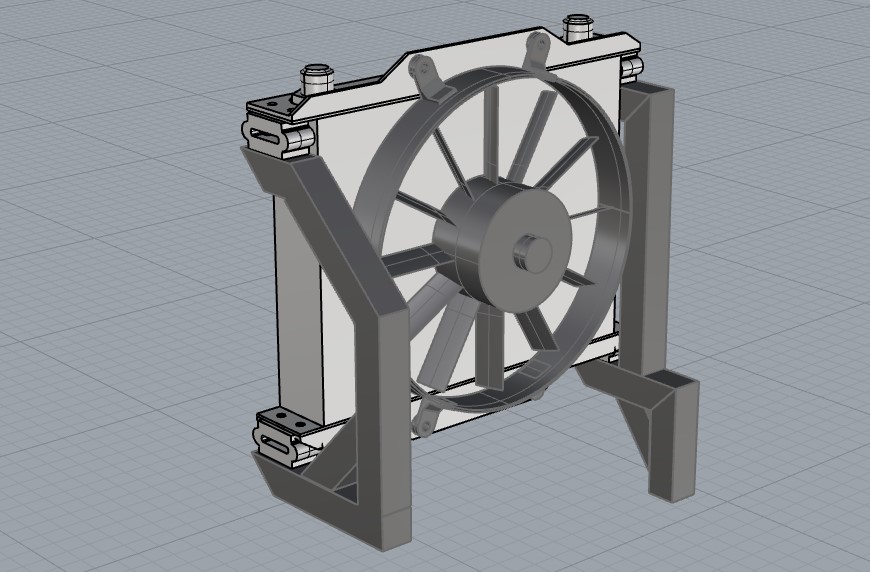
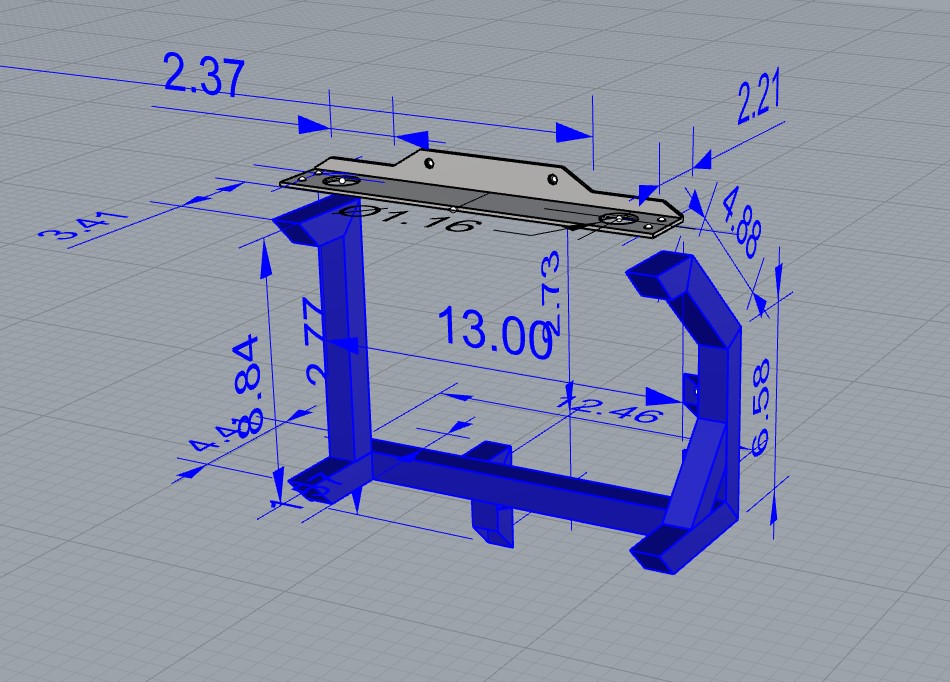
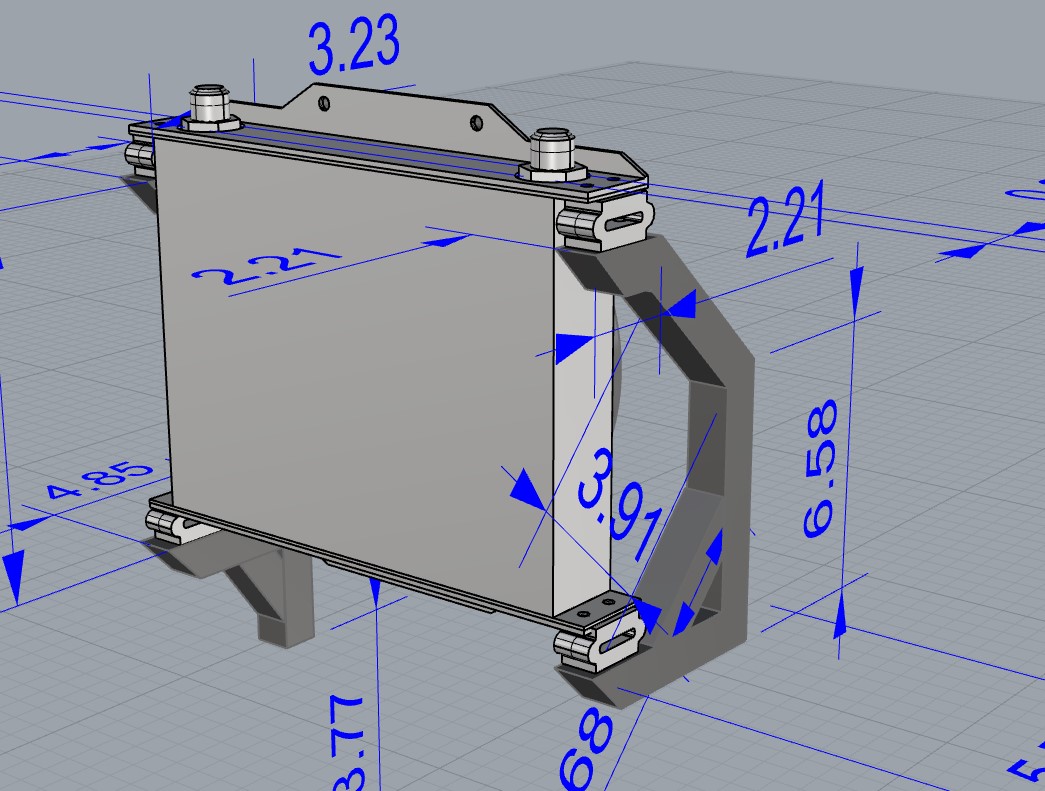
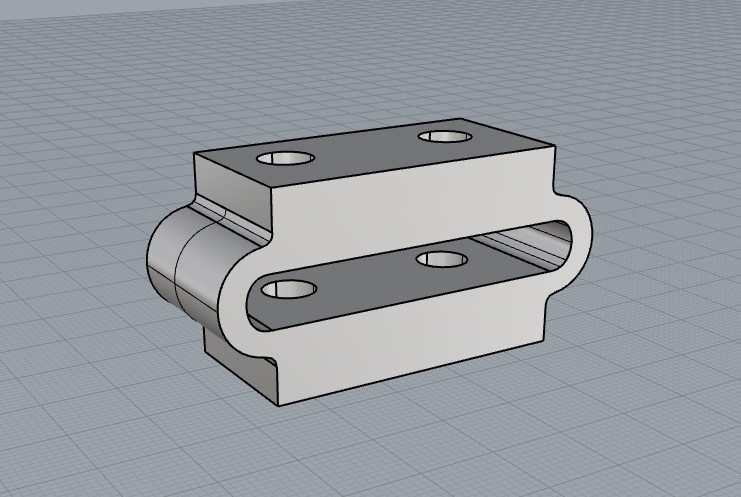
Here are images of just a few of the many items I designed in Rhino CAD that helped provide solutions during the restoration and modification of this Valkyrie:
Next: Making a fiberglass engine cover with a scoop
Back to the Content Links for this post.


