
It took me about 6 months to get things to a point where I could get the car to move under its own power. Next, I needed to make it legal. Getting a New Jersey registration and plates was likely going to be a nightmare. I had heard stories from friends with home-built hot rods describing the red tape and hoops the NJDMV make you jump through if you didn’t have a vehicle title with a matching VIN plate on the chassis. Since it had (at that time) a number of significant parts sourced from a Corvair, it made sense to me (and hopefully also to the state of New Jersey) to register the car as a Corvair. As mentioned previously, the Corvair parts included both the front and rear suspensions, the transaxle, the windshield, and the steering box. To make this step go as smooth as possible, I purchased a non-running 1966 Corvair to get the VIN/serial number plates and the title, which I used to insure my car and and get its first registration and plates! I later found out that what I did was highly frowned upon. In most states, you are not allowed to remove a VIN plate from one car and put it on another. Apparently, this is how chop shops and car thieves get stolen cars back into circulation. Once I knew this, I never felt at-ease driving the car, always on the lookout for the boys in blue, and thinking about what I would say if pulled over. But amazingly, in the 28 years it was in New Jersey, I was never pulled over. This was partly because the car was never “on the road” for very long before I took it back apart to make improvements.


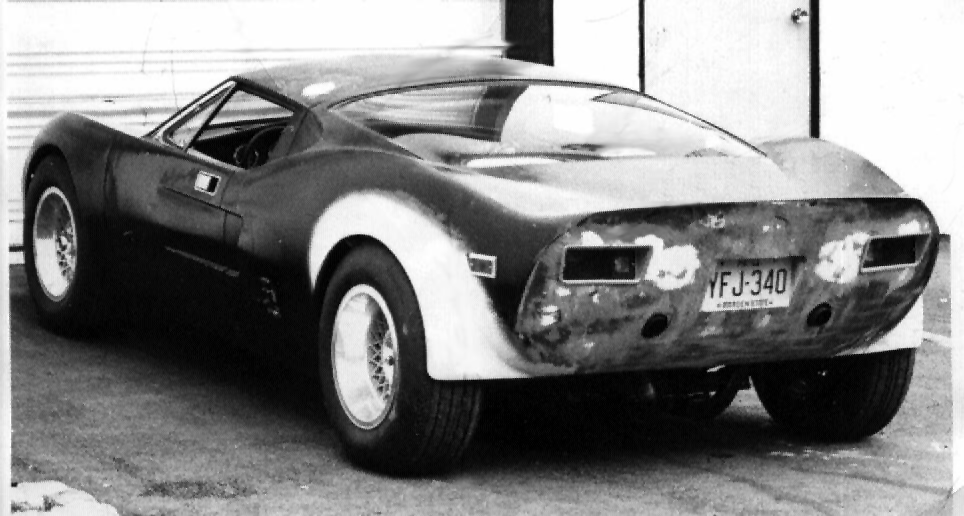

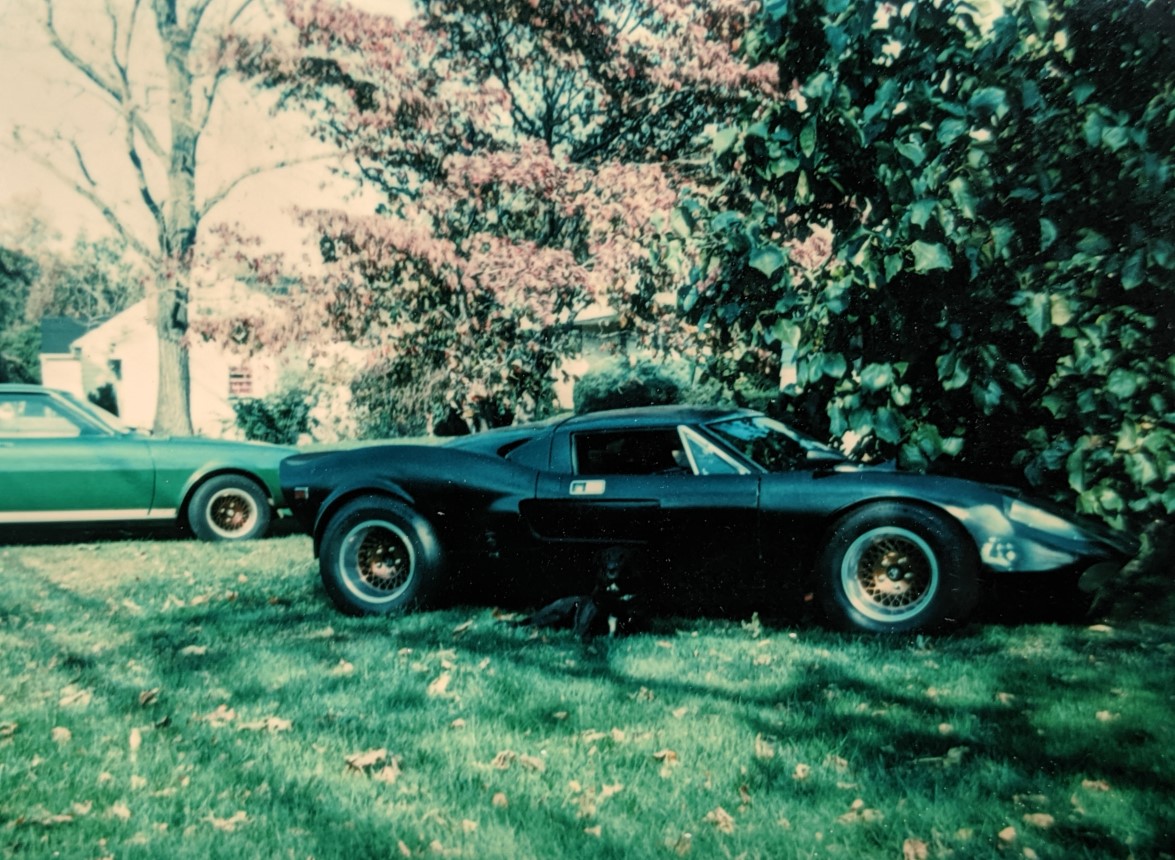
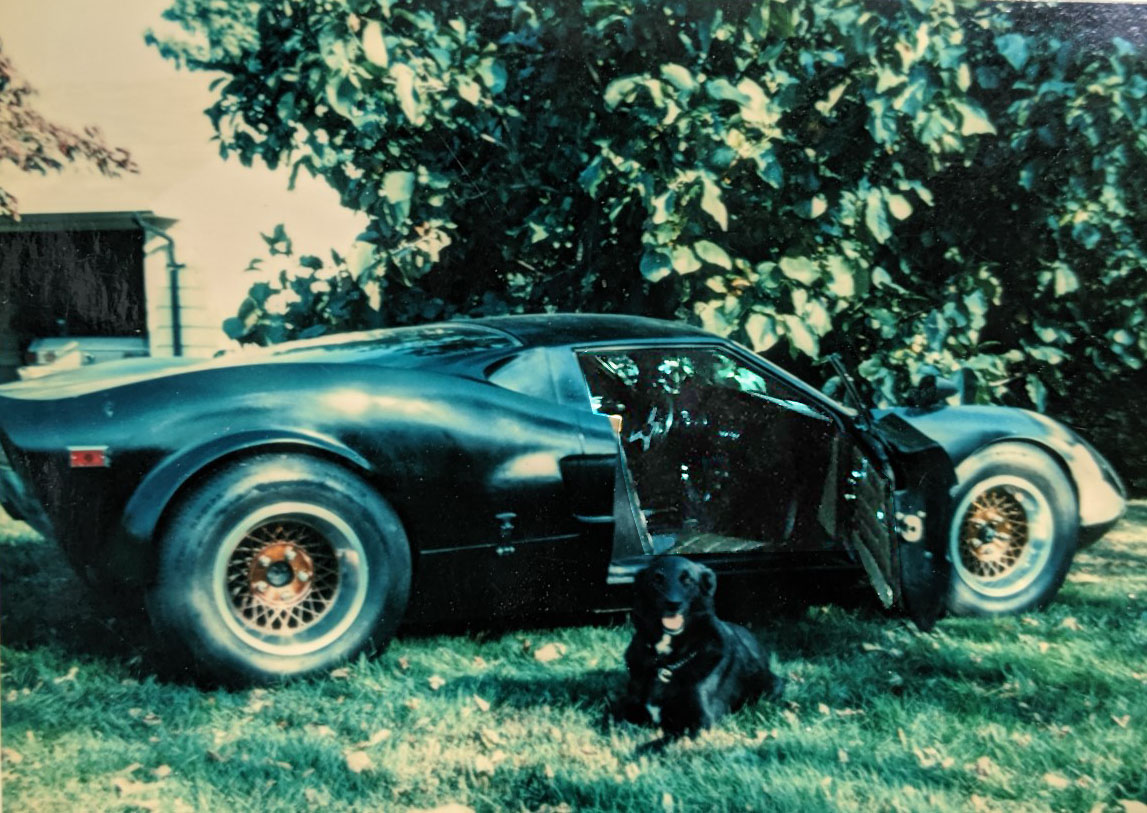

Those first drives were quite exciting! A lot of work had been done in a relatively short period of time, and it felt sort of redeeming to be able to get in the car and actually use it to go somewhere! But these first rides really turned out to be the start of a test, debug and redesign process that would be repeated for many years.
After the first drive, I began listing the things I wanted to improve.
- After mounting the body on the frame, there was no easy access to the front half of the chassis. To do nearly any kind of maintenance required jacking up the car and removing the front tires to gain access through the wheel wells. For some things you might be able to reach in through the triangular vent openings on the top side of the front clip. Fortunately, there wasn’t much mounted up front when I first assembled my Valkyrie. Just a radiator and master cylinders for the brakes and clutch. Things which typically don’t require frequent attention.
- The front of the V8 engine was fractions of an inch from touching the interior bulkhead (firewall). The hot exhaust manifolds were just inches from the back side of the fiberglass seat surfaces. Adjustment of belts and checking the ignition timing required opening an access hatch located between the seat areas.
- The way in which the Corvair transaxle was being used (with the V8 engine’s bell housing bolted to the forward facing end of the transmission using a 1″ thick adapter) just seemed like a bad configuration, resulting in the front of the engine being tucked under the bulkhead window (see #2, above). Once I got a look at how most mid-engine drive-lines were laid out, and in particular, the De Tomaso Pantera, I wanted to change my Valkyrie, and a long planning process began.
- The roof was very low which, combined with wide door sills, made the car a bit tricky to get in and out of. It also got quite warm in the summer months, partly due to the engine being so close to the bulkhead and not having air conditioning.
- Although the Valkyrie styling was heavily influenced by the Ford GT40, the Valkyrie had little choice but to use DOT approved round sealed beam headlights. With the clear plastic headlight covers in place, it wasn’t bad looking. And even though the handful of GT40 road-legal cars did use round DOT headlights, I thought the Valkyrie would look much better if I could modify the body to use the same rectangular headlights that the GT40 Mk-I and Mk-II race cars used.
- Unlike the Fiberfab Avenger, which used a VW beetle platform, the Valkyrie wasn’t designed to use anything resembling a real bucket seat. Race cars and dune buggies of that time typically had bucket seats based on fiberglass or aluminum seat shells with removable upholstery covers. Instead, the Valkyrie’s molded-in fiberglass floor had the intended seat surfaces also included in the floor mold, but they were literally shaped like a park bench. Fiberfab intended to have the seat upholstery anchored at the top (shoulder area) and bottom (thigh area) in a manner such that it formed a sling, something like a hammock. Apparently, they weren’t kidding about this, and I shouldn’t criticize it too much, as I never really considered trying it. I did have a professional shop install a nice tan vinyl upholstery with padding on the seat surfaces, but it was still very uncomfortable, to say the least.
One by one, I implemented solutions, always figuring out how I could accomplish things using the least amount of the limited funds I had on hand.
Next: Headlight Conversion – creating a more familiar face.
Back to the Content Links for this post.


